
Adding a own brand label to your clothing items can give them a professional and polished look. Whether you are a small business owner, a crafter, or simply want to personalize your garments, putting label with your brand or your store name on clothes is a simple and effective way to add a finishing touch. Let’s discuss the step-by-step process of how to put a label on clothes.
Materials Needed:
- Clothing item
- Labels with your brand ,store name or particular slogan.
- Sewing machine or needle and thread
- Scissors
- Pins
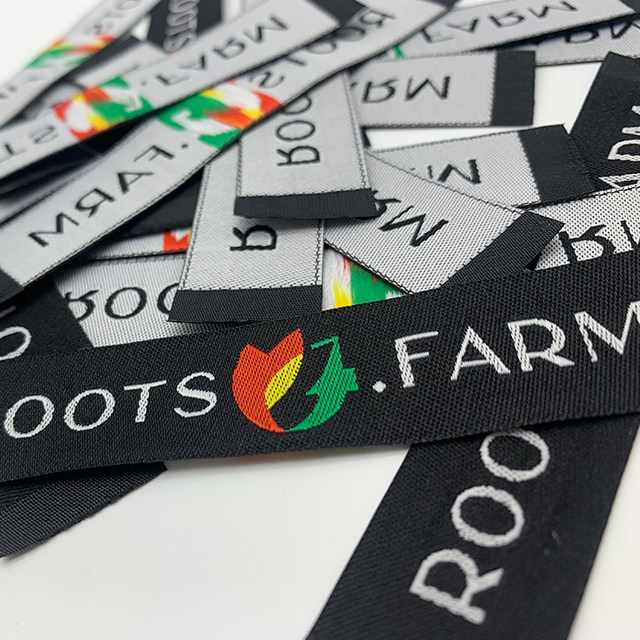
Step 1: Choose the Right Labels
Before you begin, it’s important to select the right tag labels for your clothing items. There are various types of tag labels available, including woven labels, printed labels, and leather labels. Consider the design, size, and material of the tag labels to ensure they complement your clothing items.
Step 2: Position the Tag
Once you have your tag labels ready, decide where you want to place them on the clothing item. Common placements for tags include the back neckline, the side seam, or the bottom hem. Use pins to mark the position of the tag to ensure it is centered and straight.
Step 3: Sewing with a Sewing Machine
If you have a sewing machine, sewing the tag onto the clothing item is relatively straightforward. Thread the machine with a matching thread color and carefully sew around the edges of the tag label. Backstitch at the beginning and end to secure the stitches. If you are using a woven label, you can fold the edges under to create a clean finish.
Step 4: Hand Sewing
If you don’t have a sewing machine, you can also attach the tag labels by hand sewing. Thread a needle with a matching thread color and knot the end. Position the tag label on the clothing item and use small, even stitches to secure it in place. Make sure to sew through all layers of the tag label and the clothing item to ensure it is securely attached.
Step 5: Trim Excess Thread
Once the tag label is securely attached, trim any excess thread using a pair of sharp scissors. Be careful not to cut the stitches or the fabric of the clothing item.
Step 6: Quality Check
After attaching the tag label, give the clothing item a once-over to ensure the tag is securely attached and the stitches are neat and tidy. If everything looks good, your clothing item is now ready to be worn or sold with its professional-looking tag.
In conclusion, putting a tag on clothes is a simple process that can elevate the look of your clothing items. Whether you are adding a branded tag to your products or personalizing your own garments, following these steps will help you achieve a polished and professional finish. With the right materials and a bit of patience, you can easily attach tag labels to your clothes and give them that extra special touch.
Post time: Apr-01-2024